As a customer
- Visit the Chattels homepage.
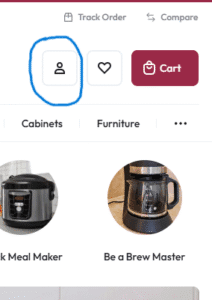
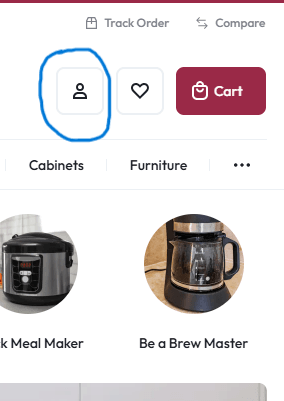
- Click on the user icon at the top right corner.
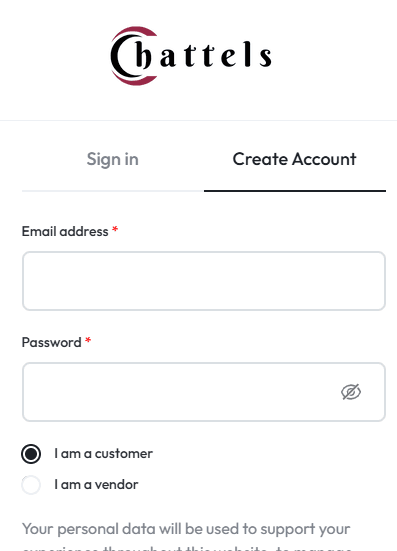
- Click on “Create Account”.
- Select the “I am a customer” radio button.
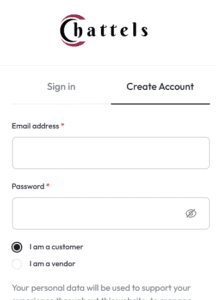
- Enter your valid email address, and create a secure password.
- Click Register.
- Check your email inbox for a verification link and click to verify your account
As a vendor
- Visit the Chattels homepage.
- Click on the user icon at the top right corner.
- Click on “Create Account”.
- Select the “I am a vendor” radio button.
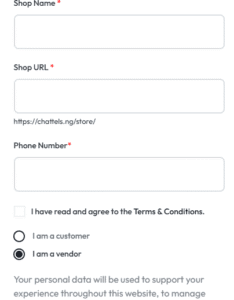
- Enter your valid email address, and create a secure password.
- Enter your first and last name.
- Add your shop name and specify your shop URL (You can leave the shop URL field blank if you want your shop name to be the same as your shop URL).
- Enter your phone number.
- Agree to the Terms & Conditions.
- Click Register.
- Check your email inbox for a verification link and click to verify your account.
Becoming a seller on Chattels is the first step toward showcasing your products to thousands of buyers. Whether you’re an individual, a brand, or a business, Chattels offers the tools and exposure you need to grow your online store. There are two ways to register as a vendor, and once registered, you’ll go through a 4-step vendor setup wizard to finalize your store setup.
Step 1: Register for a Chattels Account
Option 1: Register Directly as a Vendor
Visit the account registration page.
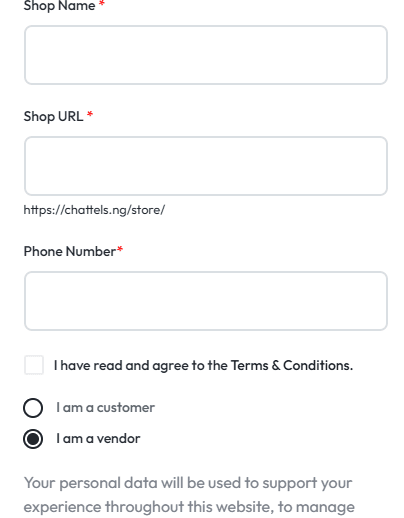
Under the registration form, select the “I am a vendor” radio button.
Enter your valid email address, and create a secure password.
Enter your first and last name.
Add your shop name and specify your shop URL (You can leave the shop URL field blank if you want your shop name to be the same as your shop URL).
Enter your phone number.
Agree to the Terms & Conditions.
Click Register.
You will receive a verification email — please click the link to verify your email before proceeding.
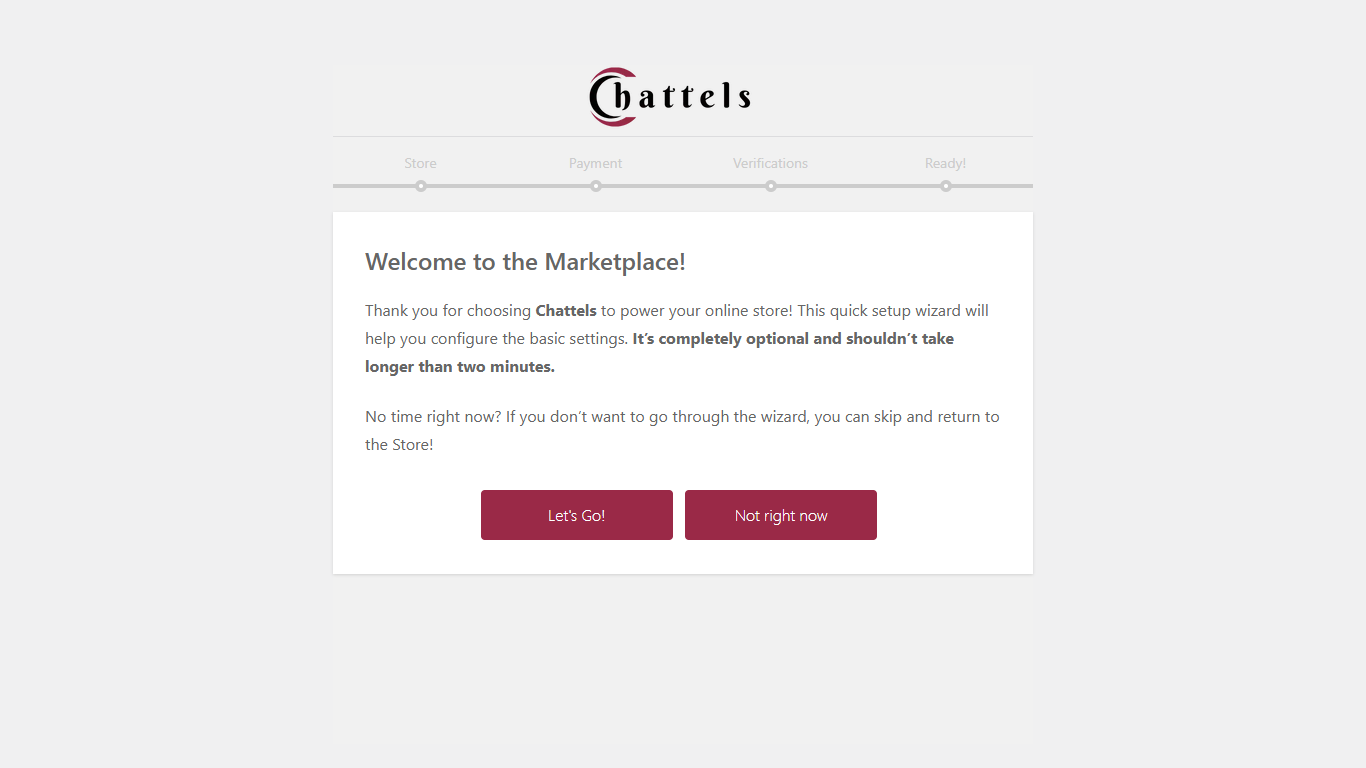
The Vendor Welcome Wizard (4-Step Setup)
Once your email is verified, you’ll be automatically redirected to the Vendor Setup Wizard — a guided process to get your store ready to go live. This process is optional but highly recommended.
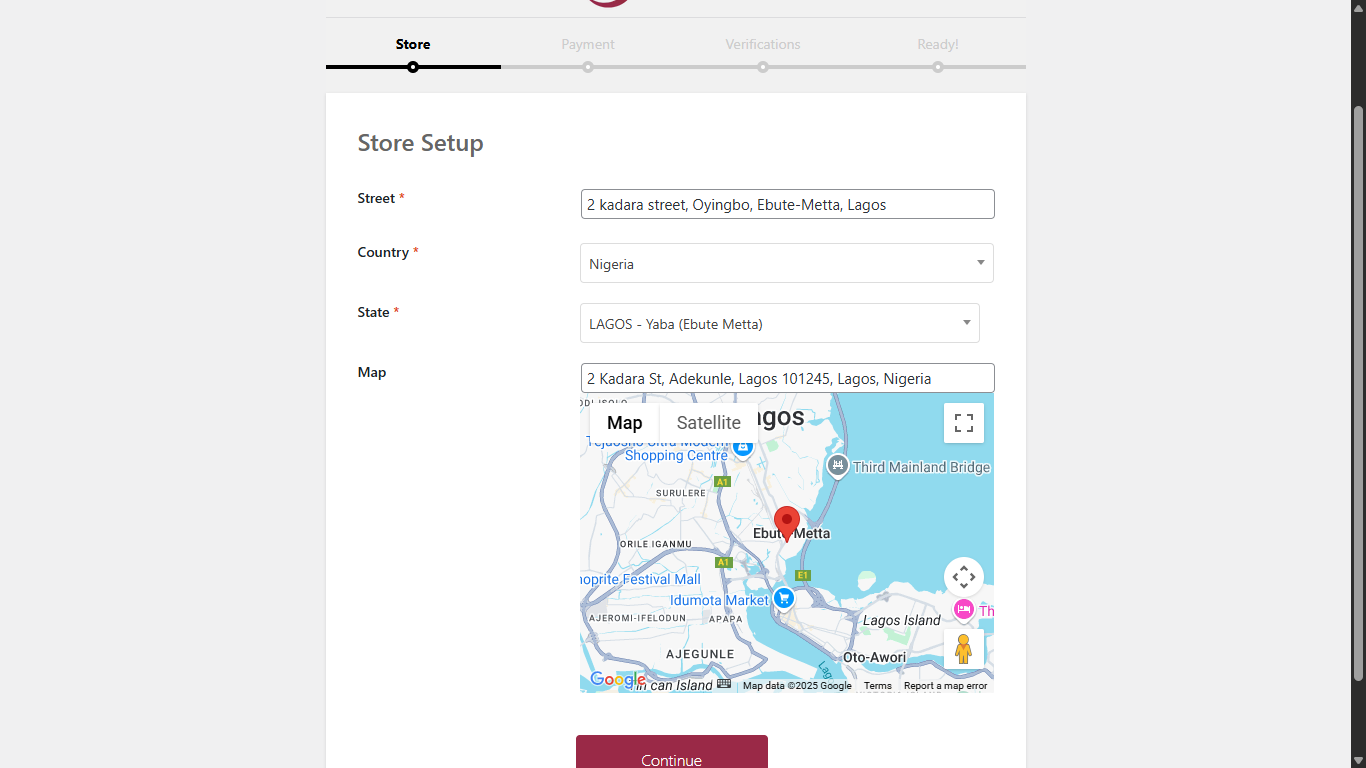
Step 1: Store Setup
Provide your business address and location details:
Street Address
Country
State
Geo Address (Map Pin Drop)
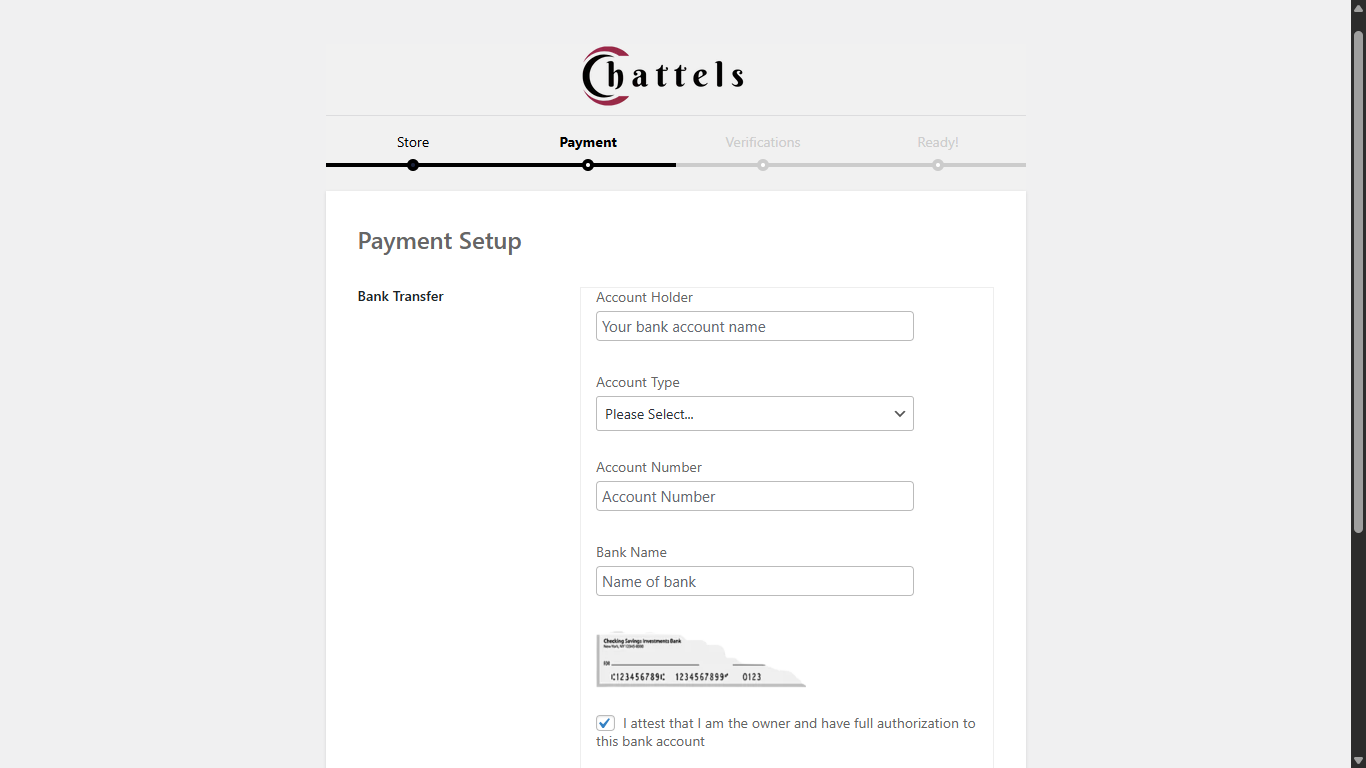
Step 2: Payment Information
Set up your payment details so you can receive payouts:
Bank Name
Account Number
Account Name (It must be same with government-issued ID and your profile name)
💡 Ensure your payment details are correct to avoid payout issues.
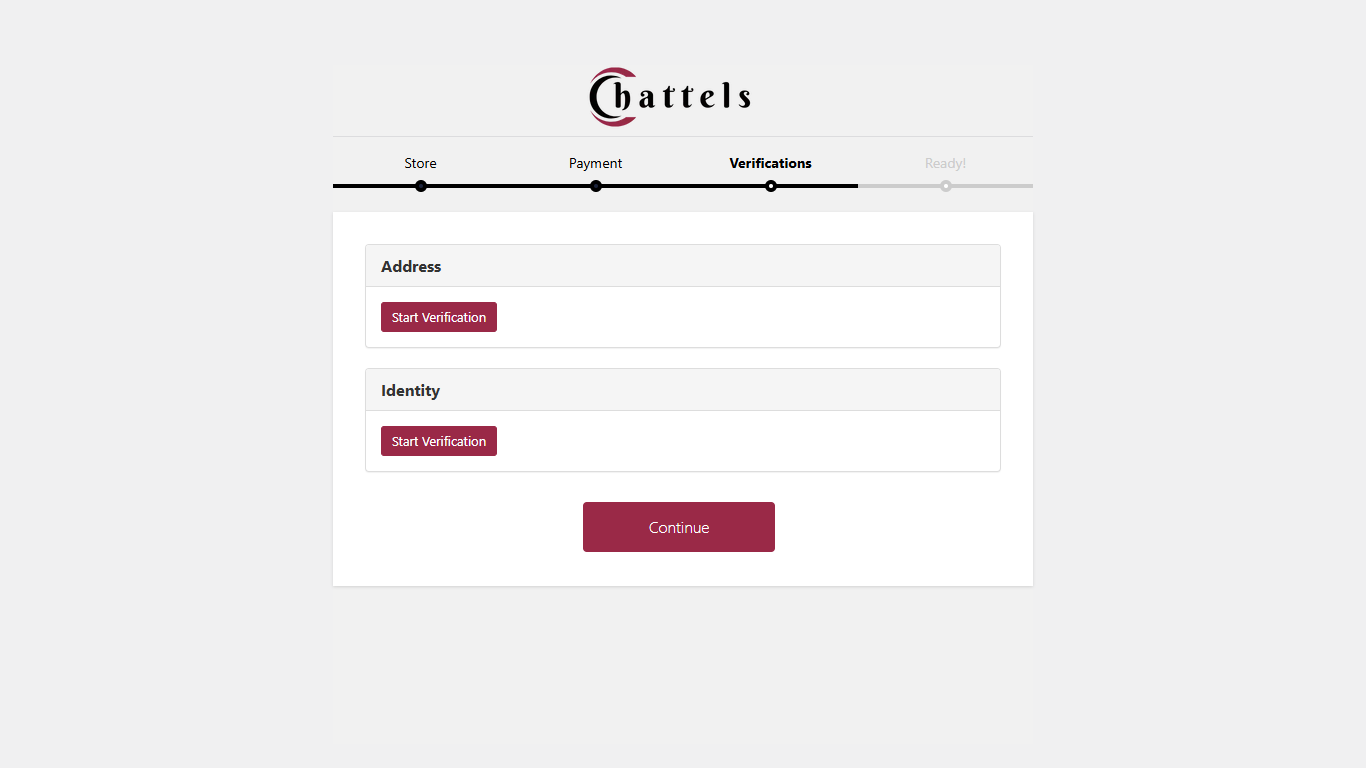
Step 3: Account Verification
This step is optional at this point, as you can do it later from your vendor dashboard. Please note; without verification, your capabilities as a seller will remain, as we won’t be able to process the delivery of the orders you received (without address verification) and you won’t be able to withdraw your earnings (without identity verification).
Upload the necessary documents for identity verification:
National ID / Voter’s Card / Driver’s License / Passport
Utility bill or bank statement for address verification
📢 This step enhances trust and unlocks full seller capabilities.
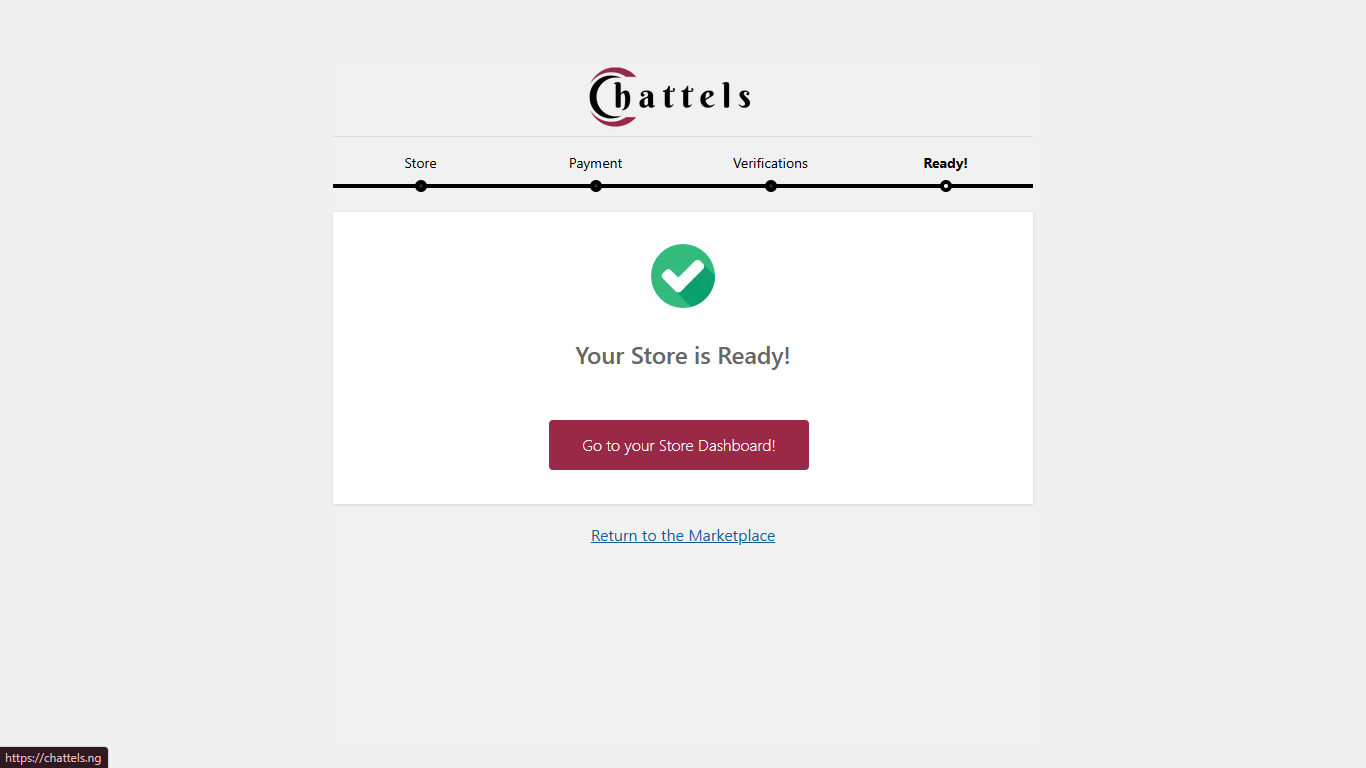
Step 4: Ready to Sell!
You’ll land on a confirmation page thanking you for joining the marketplace.
From here, you’ll be redirected to your Seller Dashboard where you can begin managing your store.
Option 2: Convert an Existing Account to a Vendor
If you however already have a regular Chattels account, follow these steps:
Log in to your account.
Go to your dashboard.
Click “Become a Vendor” in your account options.
Fill out your shop name, shop URL and phone number.
- Agree to the Terms & Conditions.
Then click on “Become a Vendor” submit button.
As you have already verified your email when creating your account, you’ll be automatically redirected to the Vendor Setup Wizard.